TrakRight Client Registration
Create your user profile by filling in the required fields identified with the red asterisks.
Be sure to check your email for confirmation of a account registration!

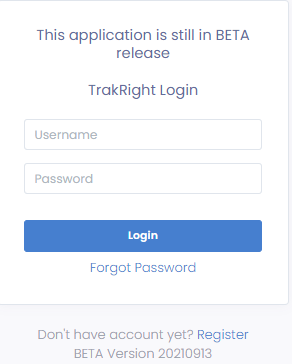
TrakRight Login
Once your account registration is confirmed.
Log in by entering your username and password.
Asset Tracking Setup Summary
Asset tracking setup requires a few basic steps that will allow the user to effectively manage their assets.
Simple yet important information required
-
Make or Manufacturer (example Ford)
-
Model (example F150)
-
Serial Number or Asset ID tag (number)
Location information is also important!
-
Location ID (example New York City)
-
Detailed Location Description (example Fire Hall 123)
-
Sub-Location (example Chief Vehicle)
-
Address (use a main headquarters address)
Setup Wizard Asset Page
Follow the instructions of the Setup Wizard

Setup Wizard Add Model
Fill in the required fields marked with the red asterisks.
If you are tracking a non- medical asset. Select Other
Manufacturer is the company making the product. Example Ford
Model# is the specific name given to the asset. Example F150
PM cycle is how often you want to check the asset to make sure it is working.

Wizard excel Template Load Existing Assets
Once you have added the make and models of your assets.
Use the template provided to move all of your assets into the TrakRight Database.

Administration Tab Dropdown
Select the desired section from the dropdown list.

Manage Organization
Allows the administrator to add organization members.

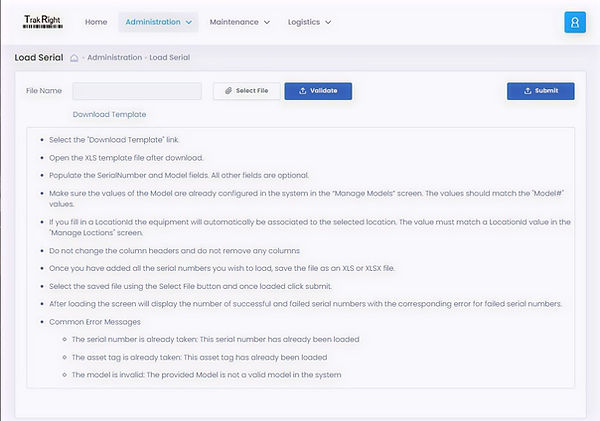
Load Asset Serial Number
Additional serial numbers can be added to the existing TrakRight asset database.
Make sure that make a model correspond with the fields created during setup wizard.
Manage Personnel
Add personnel for asset tracking, administration and frontline user privileges.

Equipment Snapshot / History
Snapshot tab allows the user to see all relevant information for the selected asset.
-
Select the serial number or asset tag number from dropdown list.
-
Select load.
The user can make revisions to the asset from this screen.
All information and functions related to the selected asset can be handled by using any selected field or tab.
Once all tasks are completed select save.

Maintenance Tab Dropdown
Drop down list allows the user to select the task required for the asset.

Maintenance Tab
Select the serial number or asset ID tag number
Select the technician name
Select the maintenance performed
Add comments or select appropriate tick box

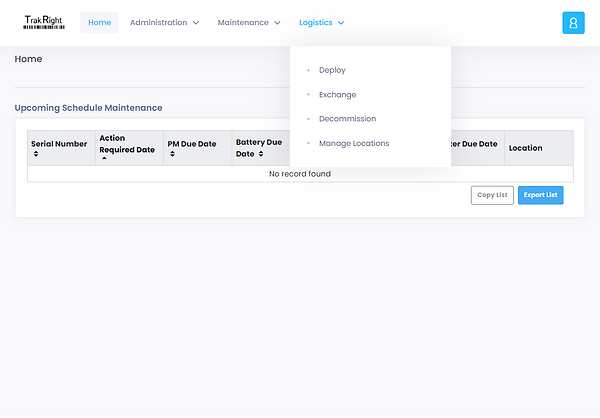
Logistics Tab Dropdown
Drop down list allows the user to select the task required for the asset.
Deploy Tab
Select the serial number or asset ID tag number
Select the technician name
Select the date
Select location
Pad expiry dates apply only to medical cardiac devices

Exchange Tab
Select the serial number or asset ID tag number from the remove from service list
Select the serial number or asset ID tag number from the going into service list
Select the technician name
Select the date
Select location
Select the reason for the exchange

Decommission Tab
Select the serial number or asset ID tag number from the list
Select the technician name
Select the date
Select the reason for decommissioning the asset

Manage Asset Locations
From this screen you can edit an existing address by selecting the pen icon to the right of the address
To delete an address select the trashcan symbol
To add a new address or location
Select the add location button
Location ID is a geographic reference such as a region, city or town
Detailed location description can be as precise as the user requires such as a floor, firehall or building
The sub-location can be as precise as the user requires such as wall cabinet, locker or vehicle
Address is the actual street address of the asset

